
Creating Sheet Metal Boxes: A Step-by-Step Guide to Folding
Creating sheet metal boxes involves a series of precise steps that ensure the final product is both functional and aesthetically pleasing. This guide will take you through the process of designing, cutting, and folding sheet metal to create durable and well-fitted boxes.
Step 1: Planning and Design
Tools and Materials:
- Sheet Metal: Common materials include aluminum, steel, or galvanized metal.
- Design Software or Paper: CAD software like AutoCAD or SolidWorks for precise design, or graph paper for manual planning.
- Measuring Tools: Ruler, caliper, or tape measure.
- Marking Tools: Scribe, marker, or layout dye.
Steps:
- Determine Dimensions: Decide the dimensions of the box including length, width, height, and thickness of the material.
- Draw the Layout: Create a flat layout of the box, including all sides and flaps. Ensure to include allowances for bends and folds. The layout should appear as a single piece when flattened.
- Add Tabs and Notches: Design tabs and notches to facilitate assembly. Tabs should be added to edges where sides will be joined.
Step 2: Cutting the Sheet Metal
Tools and Materials:
- Shears or Guillotine: For cutting straight lines in the sheet metal.
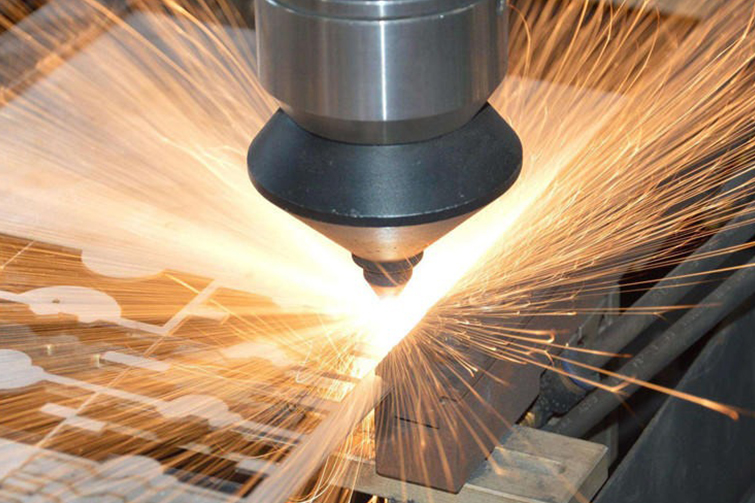
- Laser Cutter or Plasma Cutter: For precise and complex shapes.
- Deburring Tool: To smooth out rough edges after cutting.
- Personal Protective Equipment (PPE): Gloves, safety goggles, and hearing protection.
Steps:
- Transfer the Design: Mark the design onto the sheet metal using a scribe or marker.
- Cut the Outline: Use the appropriate cutting tool to cut the sheet metal along the marked lines.
- Deburr Edges: Smooth any sharp or rough edges using a deburring tool or file to ensure safe handling and a clean assembly.
Step 3: Marking for Bends
Tools and Materials:
- Marking Tools: Scribe, marker, or layout dye.
- Measuring Tools: Ruler or caliper.
- Protractor: For measuring angles accurately.
Steps:
- Identify Bend Lines: Mark where the folds and bends will occur on the sheet metal.
- Allow for Bend Radius: Account for the material's bend radius in your layout, typically by adjusting the bend lines slightly outward.
- Use a Straight Edge: Ensure bend lines are straight and clearly visible for accurate bending.
Step 4: Bending the Sheet Metal
Tools and Materials:
- Brake Press: A manual or hydraulic press brake for bending metal.
- Sheet Metal Bender: For smaller or thinner pieces, a hand bender or bar folder may be sufficient.
- Clamps and Vices: To hold the sheet metal securely during bending.
Steps:
- Set Up the Brake: Adjust the brake or bender to the appropriate angle and radius for the bends.
- Align the Metal: Position the sheet metal on the brake with the marked bend lines aligned with the bending point.
- Perform the Bend: Slowly and evenly apply pressure to bend the metal to the desired angle. Use consistent force to avoid creases or misaligned bends.
- Check Angles: Verify the angles of each bend with a protractor to ensure accuracy.
Step 5: Assembly and Joining
Tools and Materials:
- Rivets or Screws: For joining the box sides.
- Welding Equipment: For a more permanent and robust joint (optional).
- Drill: To create holes for screws or rivets.
- Clamps: To hold pieces together during assembly.
- Personal Protective Equipment (PPE): Safety goggles, gloves, and welding helmet (if welding).
Steps:
- Dry Fit: Assemble the box without fasteners to ensure all parts fit together correctly.
- Join Edges: Secure the edges using rivets, screws, or welding. If using rivets or screws, drill holes at the marked positions and insert the fasteners.
- Reinforce Joints: For added strength, consider welding the joints or adding additional fasteners.
Step 6: Finishing Touches
Tools and Materials:
- Sander or Grinder: For smoothing out rough surfaces.
- File: To finish edges and remove any burrs.
- Paint or Powder Coat: For protection and aesthetic purposes.
- Sealer: To seal joints and edges, especially if the box will be used in harsh environments.
Steps:
- Sand and Smooth: Smooth out any rough edges or surfaces with a sander or file.
- Apply Finish: Paint or powder coat the box to protect against corrosion and improve appearance.
- Seal Joints: Apply sealant to joints and seams for water resistance and durability.
Final Checks and Testing
- Check for Alignment: Ensure all sides and corners are aligned correctly.
- Test the Box: Verify the box's strength and functionality, ensuring it meets the design specifications.
- Make Adjustments: Perform any necessary adjustments or refinements.
Summary
Creating a sheet metal box involves careful planning, precise cutting, accurate bending, and secure assembly. By following these steps, you can produce a durable and well-crafted metal box suitable for a wide range of applications. Practice and attention to detail are key to mastering the art of sheet metal fabrication.


